Sunday, October 30, 2011

Price of Samsung Galaxy Y is Php 5,990 SRP

Just came across an advertisement of the Samsung Galaxy Y from a major Philippine newspaper today. It says the Galaxy Y is available for Php 5,990.00 (US $140). This means that you can have the Samsung Galaxy Y without being locked to Smart Philippines who is the first to introduce said Samsung device here in the Philippines. The good thing with it is, the unit comes with 2 free limited edition art wraps which is not available in the Smart units. The free art wrap however is until October 31 only.

This is a very good buy and I can attest myself the superb performance of the Galaxy Y. It's the best bang for the buck Android smartphone right now. Visit Samsung Philippines' website to see further information about the Galaxy Y and for information about Philippine Stores where you can buy it.

Wednesday, October 26, 2011

Train Ur Brain Game

Just downloaded a free app from the Samsung Apps widget in my Galaxy Y and it's called TrainUrBrain. The game is very simple but very cool as it lets you improve your spatial remembrance abilities. The objective of the game is to remember the location of each bird randomly positioned on the screen. The birds are five in all and are of different color and shape. What you need to do is to drag the bird to its original location after it has been shown on screen for you to memorize.

Very simple as the the game may seem but its very challenging as the game progresses. The first several arrangements of the birds are very easy but as soon as you get the learning curve, if there is, you will find it hard to memorize and replace the birds to their original locations. This is where your spatial remembrance abilities gets trained and exercised.


The vivid picture of the birds is how I re-arranged the birds and the silhouette bird background is the original location. This lets you compare or see your accuracy. This shown only after you tap on the "Snapshot" button from the Score Menu.


The score shows how accurate you placed each bird.

Tuesday, October 25, 2011

Use your Samsung Galaxy Y as Internet Access Point

One of the cool features of the Samsung Galaxy Y that is not to be found in other and older Galaxy smartphones in its class is the ability to share it's 3G internet connection to other Wi-Fi enabled devices like laptops, tablets and smartphones. This feature is commonly found on higher end Samsung Galaxy tabletss and smartphones but it is a nice treat from Samsung to have it included in this entry level Android phone.

I had a previous post of similar topic in this blog but that one deals with the Samsung Galaxy Tab. Since the naming of the feature in the menu is vastly different from that of Samsung Galaxy Tab, I took the liberty to post this one specifically for the Samsung Galaxy Y.

Having a personal Wi-Fi hotspot in your possession wherever you go offers lots of convenience to people who prefer using their laptop in browsing the internet and reading and sending email, in the absence of Wi-Fi access points in their location or even at home without regular internet  connection.

Once you activate the feature, other people can connect to your Samsung Galaxy Y and use its 3G internet connection to browse the Internet. The only downside of this feature is the maximum number of concurrent users which is set to 5 only.

To make sure that only people whom you authorize to connect will be able to use the service, you have the option to set WPA-PSK security in your device. meaning, you can set a passphrase or password which you can share with your users prior to connection just like in a dedicated Wi-Fi router/access point.

The procedure is very simple and outlined below:

1. Go to "Settings" and tap on "Wireless and Networks",


2. Tap on "Tethering and portable hotspot",


3. Tap to check the "Portable Wi-Fi Hostspot",

4. As soon as you see the "Portable Wi-Fi- hotspot AndroidAP7711 active" below the "Portable Wi-Fi hotpsot, you and your users can already connect to the Galaxy Y Access Point using your various devices but in this instance, the connection is "Open" and unsecured. What you have to do to enable security is  tap on the "Configure Portable Wi-Fi hotspot" after which you will have the option of setting your own Network SSID or leave the default "AndroidAP7711". Click on "security" below the Network SSID and choose WPA2 PSK in the dropdown list. Input your password or passphrase and you're good to go.


 By the way, before you do the above-mentioned things, make sure that your phone has enough load credits if you are on prepaid cellular service and that your network's APN is properly configured to browse over 3G. If you can browse the internet on your Galaxy Y prior to setting up the Access Point, then you will have no problem. If you cannot access the internet, check on your 'Mobile Networks Settings" and see if the "Use Packet Data" is checked or activated. This setting determines your phones capability to access the internet given enough  load credits and proper APN configuration.

In my case, prior to doing these things, I subscribe first to a day's unlimited internet with my Mobile Network or cellular provider to enjoy unhampered browsing with my pals and family members.

Sunday, October 23, 2011

How to take screenshots in Samsung Galaxy Y

This post is in particular reply to some people who are asking me if I know how to take screenshots in Samsung Galaxy Y. Honestly I did not know the answer at first so I did some fiddling with the combinations of the available buttons in the Galaxy Y and luckily I was able to discover the right combination. At first I tried the combination used for taking screenshots in Samsung Galaxy Ace which is the back and menu button combination but it did not work with the Galaxy Y. I also tried the back and power button combination used in the Galaxy Tab but it has no effect also.

Finally, the trick is to press the "Home key" and the power button quickly at the same time. If your combination is successful, you will hear the familiar click of the camera shutter and a notification "Screen captured. Saved as image file" will briefly display on the screen. Open up your gallery and a new folder named "Screen Capture" has been created automatically for you.

For the unfamiliar with the Samsung Galaxy Y keys, the "Home key" is located at the center below the screen. On its left is the "Menu Key" and to its right is the "Back Key". The Power Button is at the upper right side of the phone,

See actual screenshots below as proof.


Try and run Android from your Windows PC

Here's a cool way of trying out Android for a spin using only your Notebook, Netbook or Desktop PC, even if you do not have any Android device. This tip is very suitable for those who are curious about the Android Operating system and would like to see it in action without spending a single cent for an android phone or a tablet. All you need is your Windows desktop or laptop PC, a working internet connection and a little knowledge in installing software application in a Windows PC.

For a start, download Oracle Virtual box and install it into your windows PC. Oracle Virtual box will serve as your virtual PC inside your windows OS where you will install Android into. Nothing will be changed into your PC's configuration but I suggest caution in doing the procedure  in the part where you will install the Android OS. In that part, you will have to choose whether you would like to install Android into  a Virtual Hard disk which you will create in the process or you will choose to run the live CD.

After downloading Virtual Box, download the latest version of Android 3.2 Honeycomb at Google's website.
The file is 130MB so it will take a little while for you if you have a slow internet connection but if you have a high speed broadband, the download will be a breeze.

While the download of the Android OS is on-going, you may proceed with the installation of the Oracle Virtual Box. The installation is really such a breeze and very quick and you will find it very hard to commit a mistake in doing, so I will leave that  part to you.

Here is Vitual Box's appearance once installed in your PC, yours will be a bit different though because you do not have any VM (Virtual Machine) installed yet while in this case of mine, you will see the "My puppy" linux highlighted which is actually Android version 2.2 that I have installed way back prior to this tutorial. Yours will be blank, please take note:


Assuming that you already downloaded the Android 3.2 Honeycomb ISO files, you can now proceed with it's installation of the Virtual Box. Click on "New" at the upper left side of the interface and you will be directed to a wizard and click next:


Enter the name of your Virtual machine, in my case I used "Android 3.2" for easily identification once I add more virtual machines later on. In this case, Android 3.2 is my second virtual machine on the Virtual box. For the operating system and OS type, choose "Linux" on the drop down option and then "Other Linux" on the second drop down option. Click Next:


Leave the recommended 256MB memory allocation as this is the optimal memory needed to run Android on your PC, it will run on a lesser memory but it will be less fun so I highly suggest 256 MB:


Now here is the part where you will decide whether you would like to create a Virtual Hard Disk (VHD) or you would like to just toy around with the OS and run the live CD only. For the purpose of this tutorial, and to avoid complications in creating VIrtual Hard Disk for newbies, we will only run the live CD. Uncheck the "Boot Hard Disk" box and skip the creation of the Virtual Hard Disk.


After clicking next, your Android VM will show up on the list on the upper left portion of the interface. We're almost done but not yet. We will have to mount the ISO which you have downloaded earlier.


While "Android 3.2" or any name that you made for your VM is highlighted, click on "Settings" at the upper left corner of the interface (the yellow icon that resembles a gear wheel) and a new dialog box will appear as shown:


On the settings dialog box, click on "Storage". Under "IDE Controller" you will see a CD icon that says "Empty" next to it. Select the CD entry and another CD icon will appear next to it. Click it and select "Choose a virtual CD/DVD disk file". Another dialog box will appear and navigate to where you saved the ISO file of the Android Honeycomb which you downloaded earlier. Select it then click OK.


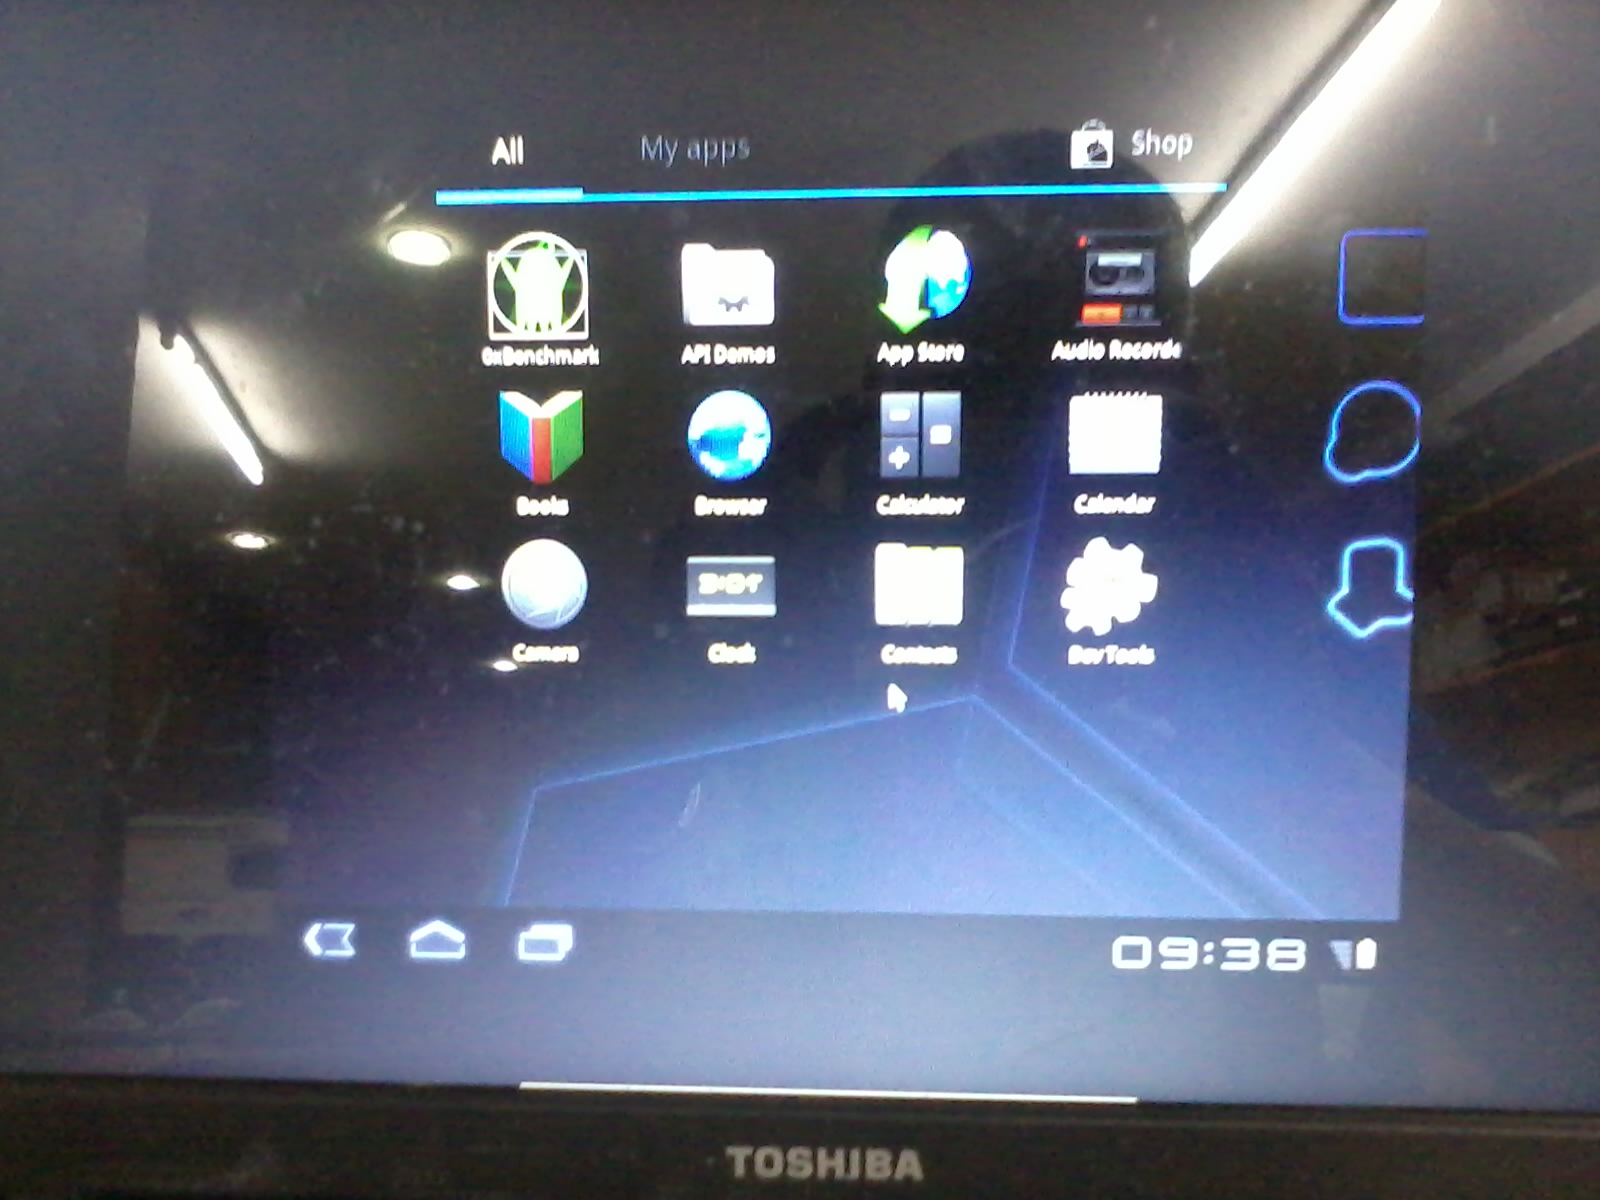
Finally, it's time to run and boot the Virtual Machine. Select the VM you just created and then click "Start". The following pictures are a series of  screen shots showing the Android Honeycomb in action from boot-up to run time in my laptop. By the way, upon the first boot up of your Android Virtual Machine, you will be prompted by several dialog boxes like "Mouse Pointer Integration" which you will have to turn off in a moment to take control of the Virtual machine. To go back to your windows environment, hit the right "CTRL" key and you will take back control of your windows system. Go and try out Android Honeycomb in your PC. Enjoy.


Sunday, October 16, 2011

Free Android Phone from Globe Philippines

Photo Source

Globe Philippines has launched it's own affordable Android phone called CloudFone Ice. This is a very affordable entry level smartphone at P4,990.00 only and free at postpaid plan starting Plan 499.

The device and the corresponding services is comparable to Smart's Netphone and very obviously an attempt from Globe Telecom to rival the former.

Since smart has been first on the offering with the Netphone service, Globe could have introduced a better device than this one which is a Huawie U8500 inside. Very low on specs and with an outdated Android Version 2.1 eclair. Smart Netphone currently has Samsung Galaxy Y on its sleeves powered by Android version 2.3 Gingerbread. I have one and I must say that my experience with the Galaxy Y is very comparable in performance to higher end Samsung smartphones.

CloudFone Ice has the following specifications:

CPU: (No data)
Display: 3.2 Inch Capacitive Touch screen
Camera: 3.15 Megapixel
Storage: Up to 32 GB via Micro SD card
Data: 3G, HSDPA, Bluetooth, GPS
WLAN: Wi-Fi 802.11 b/g/n

Wednesday, October 12, 2011

Samsung Galaxy Y Unboxing and First Impressions

True to my intention to get one of this latest budget smartphone from Smart Philippines, herewith the unboxing and first impression photos of the Samsung Galaxy Y. I did not expect to get the unit right away last night because I was expecting the release date of said device to be on October 15 onwards as indicated on the online reservation confirmation from smart Philippines. Of course I was so glad and excited because the early release was a big surprise for me. Thanks to the friendly customer manager who handled my application and account.

At first glance of the Samsung Galaxy Y you would mistake it for the Samsung Galaxy Ace if not for the small size. The curves, shape and all really resembles the Ace. One thing thing I particularly noticed about the Galaxy Y is the plasticky feel and the super light weight but I am not complaining because this is a budget Smartphone after all. Being satisfied with its touch and feel after a few minutes of tinkering, I immediately forgot about my first qualm. On one side though, there is something in the Galaxy Y that you should be very careful about if you will buy this latest device from Samsung. Even though the back side is textured, the unit easily slips in the hands and I almost dropped it thrice on my first 10 minutes with it. Better to buy an accessory protector that would encase it because one "almost dropped" slippage could send your device to the floor in many pieces.

First experience with the Android Gingerbread in the Galaxy Y is superb, so smooth, no lags, very responsive and the volume is loud enough to enjoy music and videos from Youtube. Internet browsing is such a joy in the Galaxy Y if not for the smallish screen, again no complaints. The bundled Quickoffice application is a very nice treat also as I was able to immediately read my documents.

Until the full review, check out the unboxing photos and a closer look at the Samsung Galaxy Y.